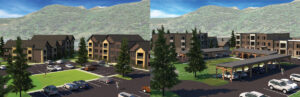
When providing drawings/models to clients or consultants it is often helpful to be able to deliver them with a 3-D file format. In Revit, when exporting to a .dwf file, there are a couple of steps that must be completed in order to properly produce the 3-D file.
In the Revit tab, you should select Exporting, DWF

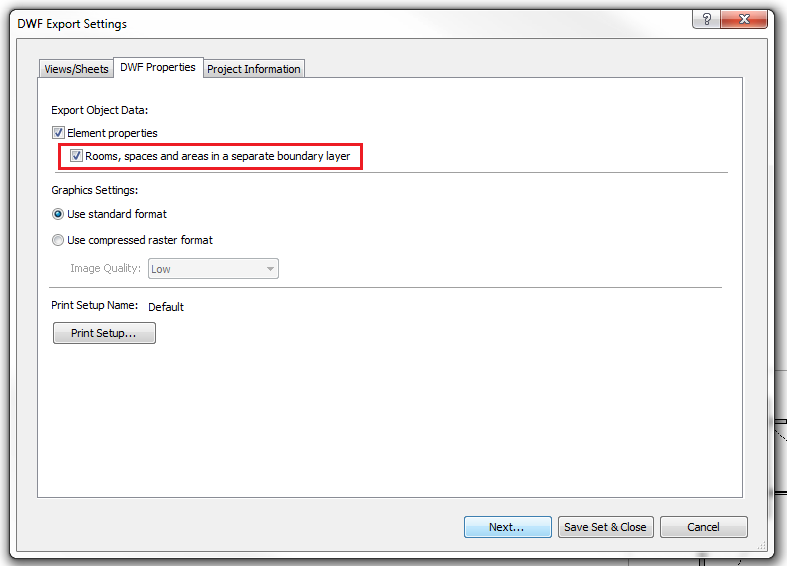
A dialog box will then open so that you may select the view/sheets you wish to export. The next tab is the DWF Properties, under Element properties the box must be checked for “Rooms, spaces and areas in separate boundary layer”.
After selecting Next, a dialog box will open for which the save path will be selected. You want to make sure that the Automatic-Short option has been selected under the Naming box, and the subsequent box is checked to “Combine selected views and sheets into a single dwf file”.

Once you press OK, your file will be saved in the designated location.
Once a DWF file has been created, sections can be cut within the viewing window to peel open the model to reveal the interior.