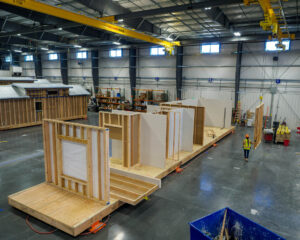
The fruitful partnership between EVstudio and Fading West has created two modern, modular buildings for the mountain community of Breckenridge, Colorado. The apartments consist of 7 studios units, 14 one-bedroom units, and 5 two-bedroom units. The new total is 52 units (26 units in each building).
In the process of architectural and engineering design, changes to a building’s layout are common. On this particular project, for example, some iteration changes from the original concept consisted of: Changing Gable Roofs to Flat Roofs; Parking lot carports both to provide surface area for proposed solar panels; and one-bedroom units on the first floor were converted to give an additional 823 sq.ft. of tenant storage.
Side-by-sides of the old (left) and new, updated (right) renderings:


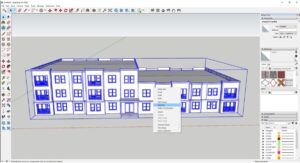
Even though Revit remains supreme as the go-to BIM software for building design, when in the schematic design (SD) phase, SketchUp is a helpful tool to elaborate and iterate such changes. It allows for quicker site studies, material representation, and context. Listed below are simple steps showing how the apartment complex with the new changes, created in Revit, was exported into Sketchup.
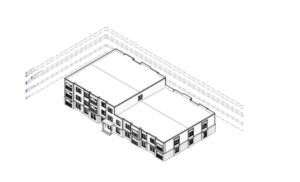
Step 1: Start Revit model in 3D View.
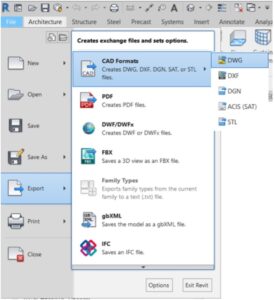
Step 2: Export as DWG.
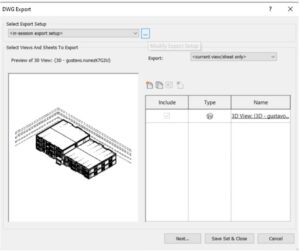
Step 3: (…) Open Modify Export Setup.
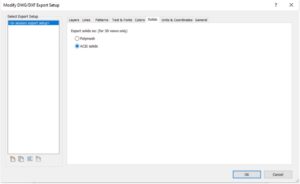
Step 4: Move to Solids tab and export solids as ACIS Solids. Exporting as ACIS Solids allows objects to be modeled as a shape with multiple slides.
Step 5: Save DWG.
Step 6: Open SketchUp.
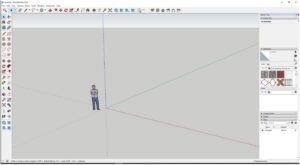
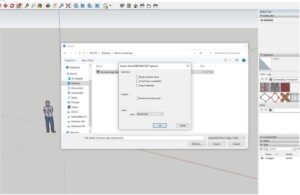
Step 7: Select File and Import.
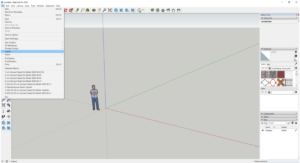
Step 8: Select the DWG that was just saved.
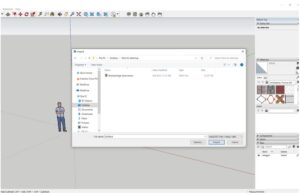
Step 9: Before completing the import, select your Options…
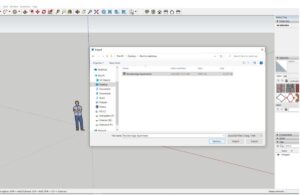
Step 10: To keep the scale that you had in Revit, in the dropdown menu select Model Units. When the import is completed, the scale will remain the same from Revit.
Step 11: Ta-da!!! You have your import! But…
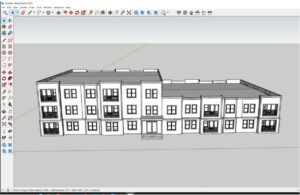
Step 12: …before you get too excited, the model will be brought on as a group. To modify it, you can explode the group and you will be able to modify whatever you may need.
