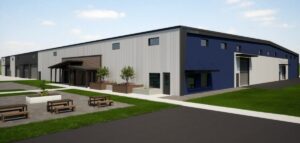
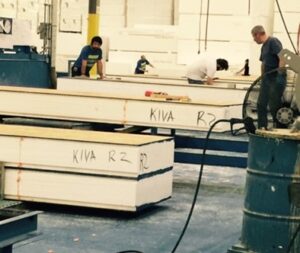
At EVstudio, we do not only know about codes that buildings are designed to meet, but we also understand the construction methods used to create the components we design to build the structures. Having recently completed a tour of Premier Building Systems, Premier SIPS (Structural Insulated Panels) Fabrication Plant in Belgrade, Montana our team compiled a list of steps to help our clients understand what their process looks like after design is completed and panels begin fabrication:
Step 0 – Digital Model:
It all starts with a digital fabrication model that takes a design and breaks down each of the exterior faces into a design for a home into panels that fit the fabrication limitations set by the factory by its equipment, process and transportation requirements. This is critical as it sets the panel geometry for each of the following steps.
Step 1 – Insulation Manufacturing:
Once the digital model is finalized, Premier manufactures insulation blocks to the exact R-value requirements of each project. Unlike many SIP manufacturers who purchase standard, pre-cut insulation sheets, Premier produces its own custom insulation. This in-house process allows greater precision and flexibility, ensuring every panel is tailored to the project’s needs. This includes the insulation density to effect the thermal resistance of the product, as well as the overall shape.
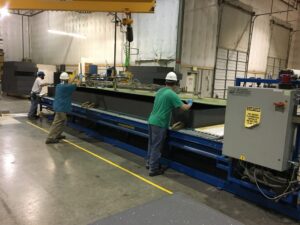
Step 2 – Insulation Shaping:
After the insulation is produced, it is cut to the required size for the SIP core—adjusting thickness, width, and height. Premier uses a heated wire system that makes precise, clean cuts. Unlike traditional spinning saws, this method prevents choppy edges, reduces waste, and eliminates airborne insulation particles.
Step 3 – Electrical Chases & Plumbing Considerations:
Factory-installed electrical service channels (chases) are created by running a heated wire through the full length of the panel’s rigid foam core. This process allows some flexibility in chase placement. Standard vertical and horizontal chases are provided, but custom locations can be specified before manufacturing to align with project electrical layouts. These pre-installed chases make wiring simpler inside highly insulated wall and roof panels.
For plumbing, however, running lines inside SIP walls is not recommended due to limited cavity access. Instead, plumbing is typically routed through interior walls or accommodated by adding furred framing adjacent to SIP panels.
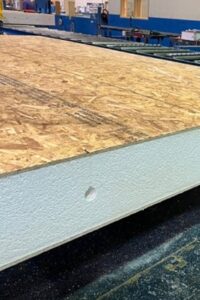
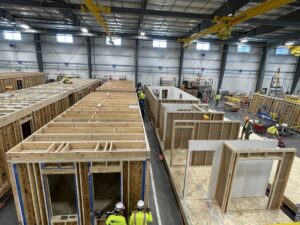
Step 4 – Structural Additions:
After the insulation is trimmed down to size, every insulation sheet will have a structural grade OSB panel glued (with structural adhesive) and pressed to each side of the insulation to provide the structural capacity requirements. Depending on the building design, some panels might also require the insulation core to be edge detailed to allow structural headers, trimmers and king studs, or columns in the walls. This process can also include factory embedding rafter structure if required in floors and roofs with higher design load criteria.
Step 5 – Panel Cut:
Once the panel is formed to a rough size, it is precisely trimmed using a multi-axis, computer-controlled CNC saw. This process squares the panels and allows for both standard X/Y face cuts as well as angled cuts. By incorporating angled cuts, the system reduces the number of panels and seams required in the field, improving efficiency during installation.
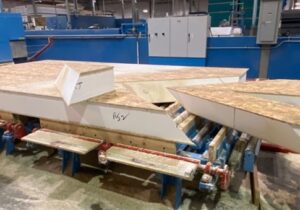
Step 6 – Edging for Splines:
In this step, the insulation along the panel edges is trimmed back to create space for splines—connections that join panels together. Splines vary based on structural requirements, but they serve two key purposes: aligning panels into a continuous surface and adding structural strength.
The most common option is a block spline, while continuous sill and head plates are used along the top and bottom of panels. When additional structural support is needed, an insulated header or similar element is specified. Spline types and details may differ by manufacturer.
Step 7 – Weather Protection:
In the final step, panels can be treated with a waterproofing application that adds mold and mildew protection to the exterior sheathing. This extra layer is especially valuable on horizontal surfaces like roofs, where moisture may sit longer, but it can also be applied to vertical panels. While not all manufacturers offer this treatment, it provides an added layer of warranted protection beyond the code-required WRB or roof underlayment.
EVstudio works with each of our manufacturers to understand their process and the implications they can have on our designs. With off-site construction this is a critical step to the success of your project regardless of the process being utilized. We encourage our clients to reach out and discuss what form off-site construction makes sense for your project.