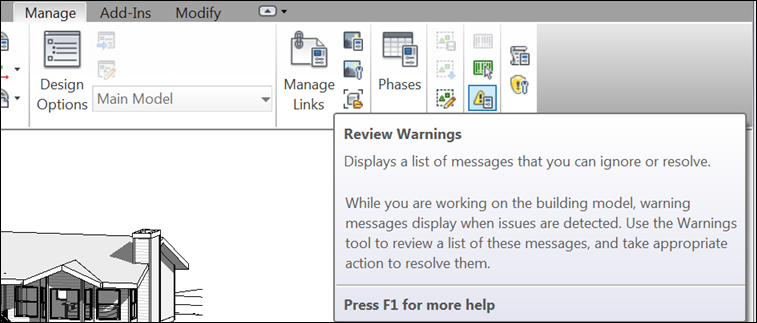
Surely you’ve noticed those little warnings that pop up as we’re working on our models notifying you of walls that overlap or lines that are slightly askew. Chances are you’ve ignored several of them and moved on, forgetting that they needed your attention. One surefire way to speed up your model and improve your project maintenance is to review your warnings in Revit. To review all of the outstanding warnings, go to the Manage Tab, and find “Review Warnings” on the Inquiry panel.
This will bring up the warnings dialog box in Revit. Warnings are grouped together, and each one must be addressed individually.
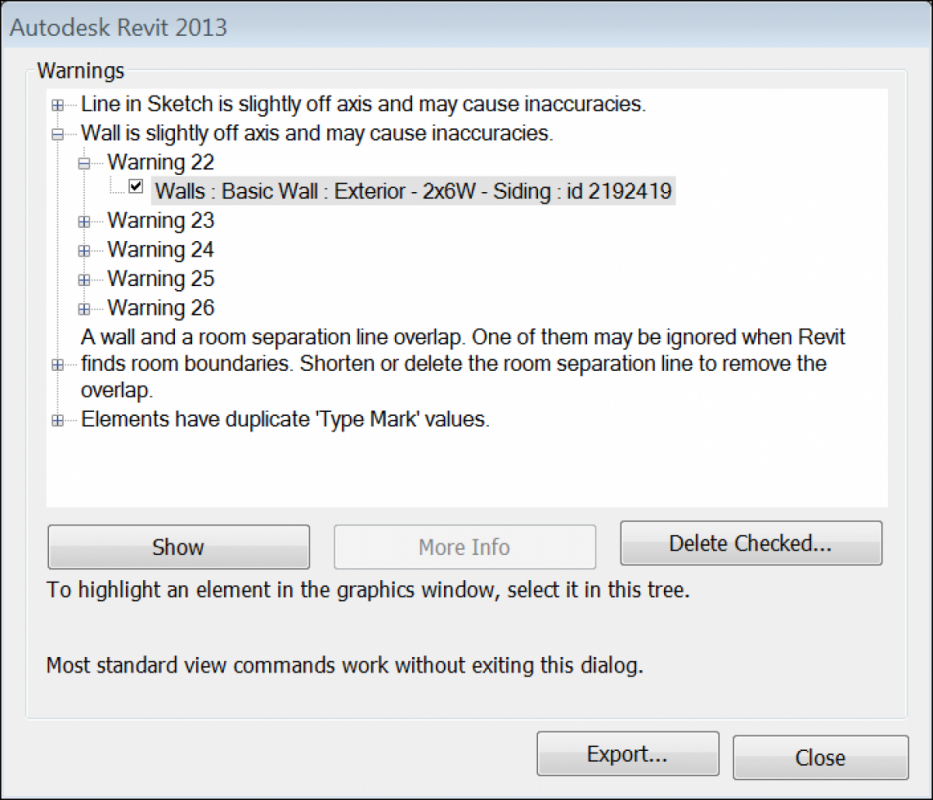
Click on the box next to a group to expand that group, then expand a warning number to see the element in question. Select the check box next to an element and select the “Show” button to see where it occurs in the model. If the element needs corrected, do so now and it will clear the warning (if there are duplicate instances in the same place, or a wall is slightly off axis but shouldn’t be, for instance). If the warning is irrelevant (like in the event that a line is intentionally askew) you can check the box and select the “Delete Checked…” button. Warnings can accumulate surprisingly quickly, and it’s much more efficient over the life of a project to review these errors on a regular basis rather than wait until the warnings have noticeably slowed your model, then trying to review 100 or more warnings at once. In addition to improving your model’s performance, this will also boost the accuracy of your model. Make it a regular part of your model maintenance and you will keep Revit and your project team happy!