In working on apartment and townhome projects that have multiple units of the same layout, I have come to appreciate Model Groups in Revit as a useful tool.
In this guide, I will illustrate how groups were used and some helpful tips shown to me in the learning process.
This process will assume several things:
- The exterior building footprint has been established.
- The interior spaces have been laid out as desired.
- Room separator lines have been added place the rooms.
After the model is approved, now the model groups can be made.
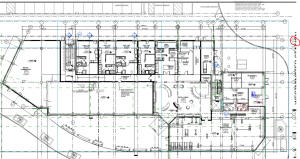
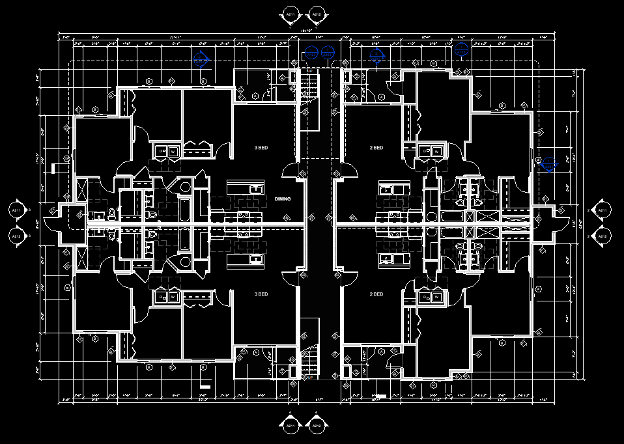
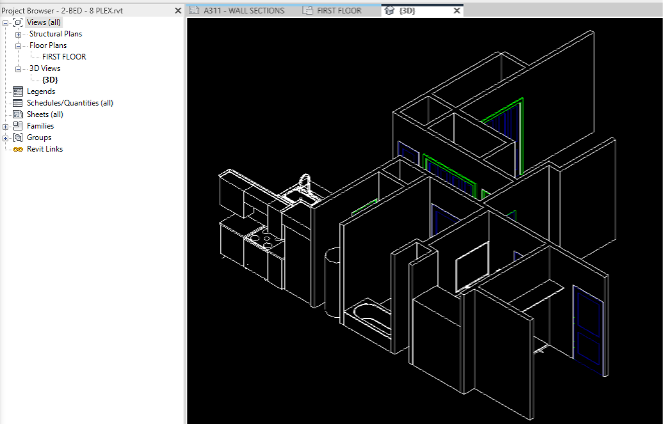
In Figure 1, you will notice there are (2) kinds of units. Both the (2) bedroom and the (3) bedroom units were made as individual model groups and then mirrored down across the separation wall centerline.
Several things to make note of here are:
- Model Groups in Revit are most often made on the first floor and then copied up to additional floors as needed. If a model group is made on a second floor, then there are often issues that arise.
- The model groups I typically make do not include the exterior walls with their doors, windows, and separation walls. This process helps the exterior wall/separation wall clean-up issues, as well as allowing the exterior walls to have both base and top offsets while the group is unaffected.
- Select all interior items to be included in the model groups plus the room separator lines. Be careful not to select the floor below and/or the ceiling above. These cause conflicts/duplications that are difficult to resolve.
- After the selection, use the “Create Group” tool on the ribbon and name the model group appropriately for others to understand its identity.

Figure 2: A screenshot of the toolbar in Revit, with the red arrow showing where the “Create Group” button is located. The “Create Group” button is on the Modify tab in the Create sub-tab.
After the model group is created:
Side Note: It should be noted, groups can be edited inside the original project, or edited and saved as their own project. The following process will first edit and save as a project. Later we will address editing inside the original project.
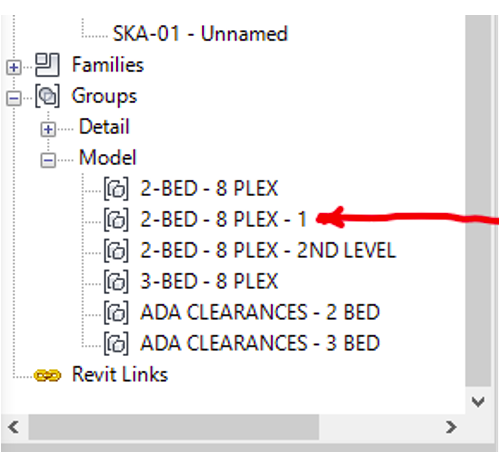
- The model groups will now show in the browser under the “Groups” heading, shown in Figure 3.
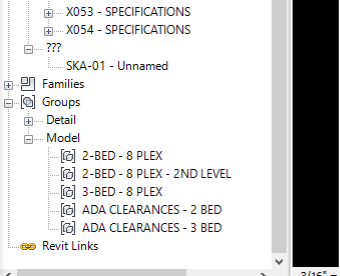
Figure 3 - Now that the model group is made, right click on the group and “Edit” the group. This will do two things: It will ask you if you want to “open” the group for editing, and will let you save the group as a project in the project folder for safe keeping and copying to other projects. See Figure 4.
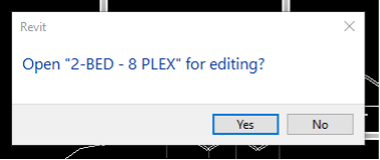
Figure 4
Editing the model group:
- After you have opened the model group for editing, you will see the 3D view of the group. Several things to make note of here: (see Figure 5 below)
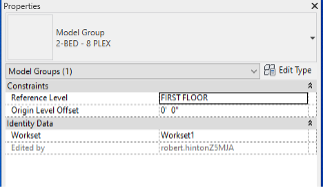
- The name at the top of the Browser will indicate the name of the project you have just created.
- The Browser will also show you the floor plan level the model group was created on. If multiple levels were saved in the model group, you should only have “First Floor” under the Floor Plans heading.
- In the 3D view, you will be able to see if a floor or ceiling was selected at the time of creation.
- Now you can delete extra items, such as a floor or ceiling, building exterior walls, separation walls, etc., that are not to be a part of the model group.
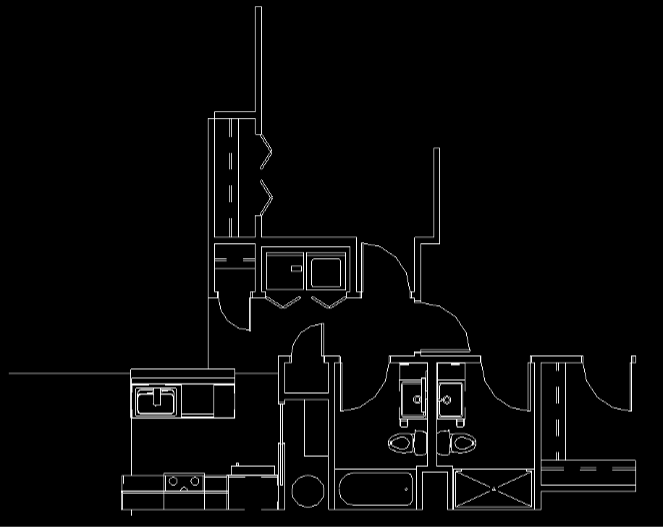
- The Floor Plan view can be accessed through the Browser for further editing (see Figure 6 below). Notice, the Room Separator lines are visible.
- Please note: Wall-hosted items will cause the model groups to break it they are hosted to walls not in the group. We have created non-hosted items such as upper cabinets, upper cabinet fillers, closet shelf and rod, pantry shelves, toilet paper holder, tubs, showers, etc., so they can be in the model group and not have to be hosted to a wall that is not in the group.
- After making the modifications/corrections to this model group, go to “File” and do a “Save As” a project. (I find it helpful to make a new folder and call it “Model Groups”. Rename the project by placing a “1” after the name so it can still be recognized but is different from the original group in your main project.) Close this newly made Model Group project.
Inserting the Model Group back into your project:
- Go back to your project. On the “Insert” tab, go to the “Load as Group” tab and search for your newly made project found in the “Model Groups” folder. (NOTE: if the name is the same as the original, then you can replace/overwrite the original Model Group ,but the modifications you made in the saved-out version will not always be present in the model. Probably a glitch when working with model groups in Revit, so a renamed project prevents those issues.) You may get a dialog box informing you “This link is approximately 10MB or greater. Loading large amounts of data can impact performance.” Continue, because you want this in your model and not a link.
- Now that you have the Model Group inserted, it will look something like Figure 7 below:
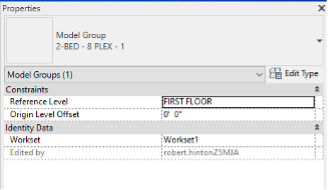
- In your model, select the original group. While selected, go to the Properties palette and use the drop-down to select the new model group. This will replace the original model group with the saved-out model group in the same location (see Figures 8 and 9).
Final Clean-up Steps:
- Delete the old model group (ie. 2-Bed – 8 PLEX), which will remove all instances of the original Model Group and allow you to place the new one where it is needed.
- Rename the “new” Model Group in the Browser and in the saved-out folder by removing the “1”. Now the names of Model Groups are back to the original in both places.
Overall, model groups in Revit are intended to make the process of design easier. Hopefully this guide has helped give you a behind-the-scenes look into how to better use this software.