I recently responded to a company chatter post about how to properly phase a project. As an architectural project designer, I have worked on a couple different residential addition projects. When starting one of these projects, it is important to document the existing conditions of the client’s home. When transferring this information to our Revit software, we first model the existing home as-is. Once we have the home modeled correctly, we then need to add the new design to the model. This is where the correct phasing comes into play.
To start, I create three separate floor plans by duplicating the current floor plan. I name one “New Floor Plan”, another, “Demo Floor Plan”, and lastly, “Existing Floor Plan”. I then make sure the correct phasing is applied to each floor plan.
Starting with the existing floor plan, under properties, I scroll down to “Phase Filter” select “Show Complete”, then right below that “Phase” I select “Existing”.
Next, I set the demo floor plan “Phase Filter” to be “Show Previous + Demo” and the “Phase” to be “New Construction”
The new floor plan’s “Phase Filter” is set to “Show Previous + New” and the “Phase” is set to “New Construction”
Once these three floor plans are set up correctly in Revit with the right phasing, you can begin to demo existing elements of the house by using the “hammer” tool.
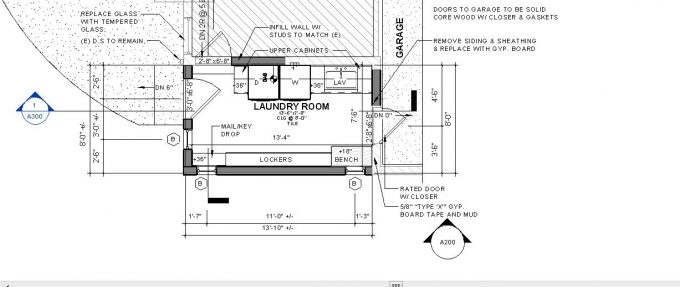
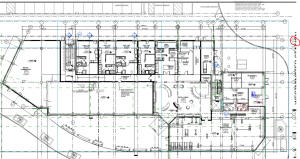
This is an example of what the phasing looks like in a plan we would present to our client’s.
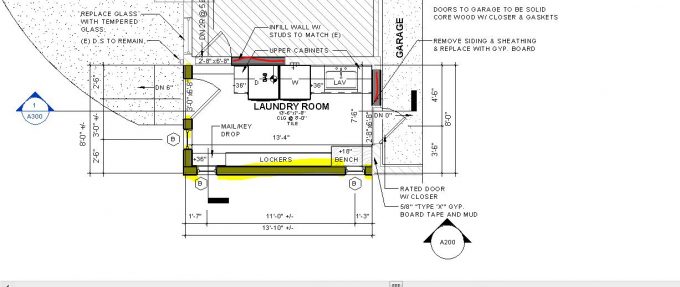
They yellow indicates a new wall (part of the new addition). The red walls indicate where there used to be an existing door. The doors were removed then infilled with a new wall. The existing walls in this image are shown with a diagonal hatch pattern.
By having the correct floor plan phasing, it allows us to keep track of our work. What was existing in the design, what is being demoed and what the new design is so we can show our clients the right accurate information.


