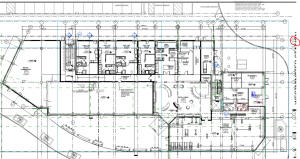
At the intermediate levels of Revit, there are a number of tricks to aid the design flow process. This tip removes an otherwise additional step of using the rotate tool when inserting and placing a family and allows you to align it with any line or line representative of a face, surface, etc. In this example I am inserting an annotation symbol which represents an electric meter for an electrical plan and need to place it so it is aligned to the face of this exterior wall.
It is important to mention that many Revit families are preset to host to certain things like walls or floors so this method may not work in those circumstances and is intended for elements not preset to host to certain elements.
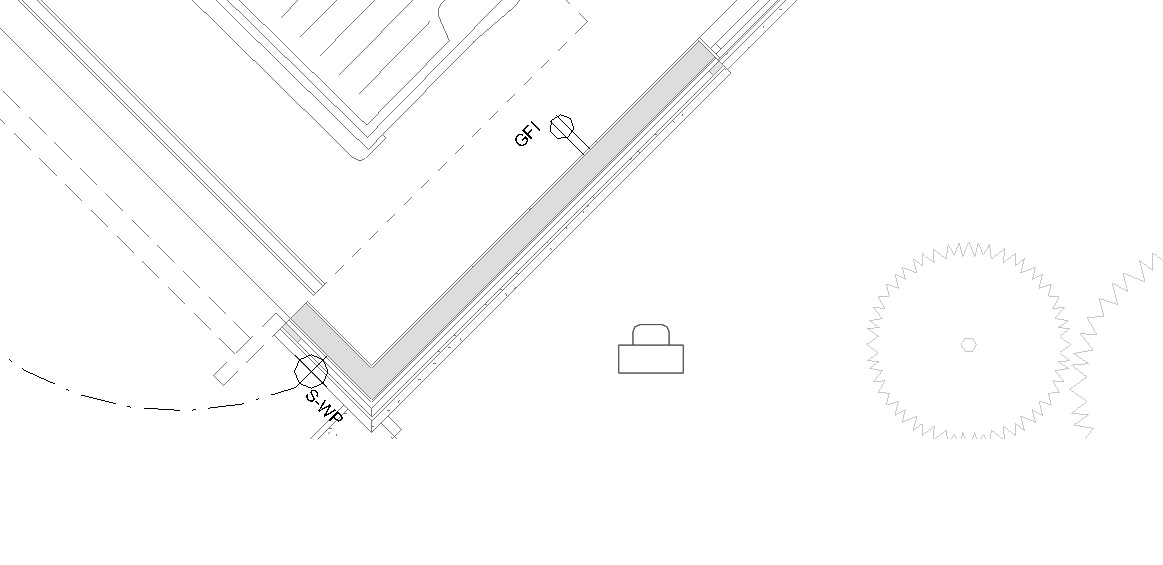
Step One: Once you have a family to be placed into the view, select it and hover over the view to which you want to place it but don’t click the mouse yet. By default the object is aligned in the manner to which the family was set up for originally. Now, hover over any area of the view without other objects near by, tapping the space bar will rotate the object by default at 90 degree increments counter-clockwise. If one of those works for your particular application, then tap the space bar until it is aligned to direction you desire and left click to place the object where you want.

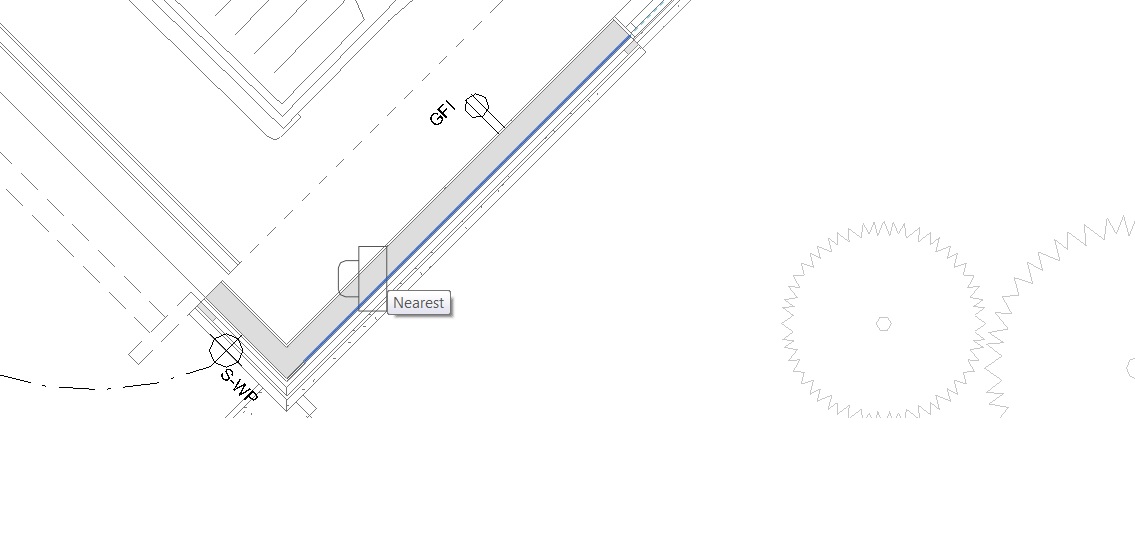
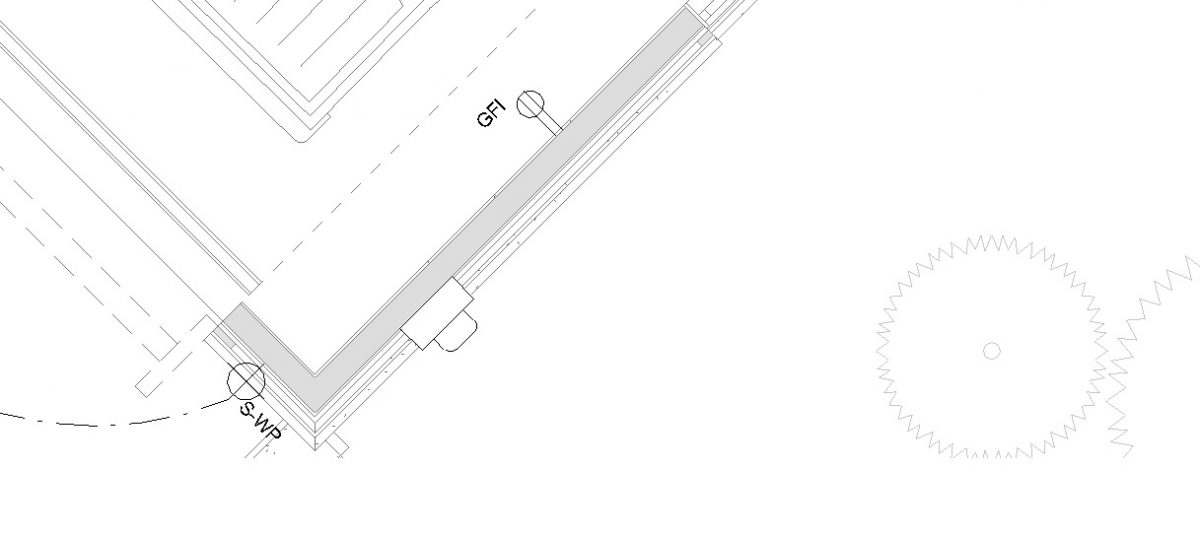
Step Two: For aligning to a surface (or line representing a surface) that is not of the four cardinal directions, as in the image below, hover over the line you want to place and align the object to, then tap space bar until it finds the direction you want and then left click to place the object. If you happen to tap the space bar beyond the desired orientation, just keep tapping it until you’ve found the right one again.