Often you will see things on your screen that only almost make sense.
Here is a common occurrence of indecipherable text in Revit…I’ll tell you why it happens and how to avoid it.
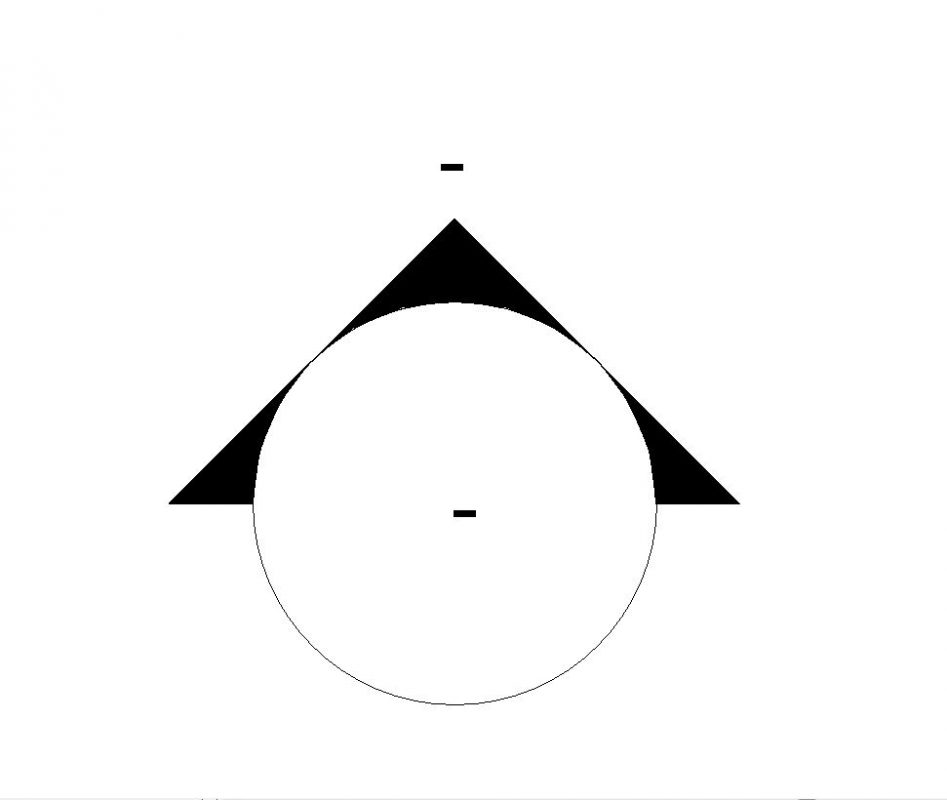
When you create an elevation view in Revit, a tag for that view is automatically created. Depending on how your template is set up, that tag might look like this.
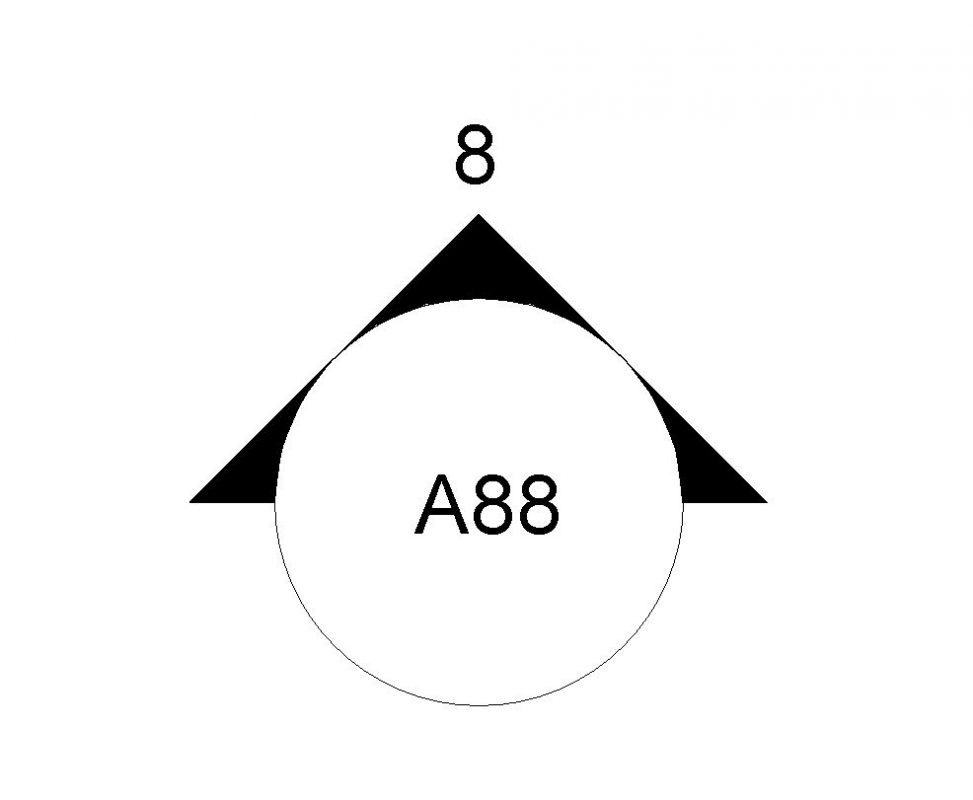
The tag will appear blank until you place the view on a sheet. Once it is there, the location information will fill in automatically and, if it was the 8th detail on sheet A88, your tag will look like this.
Sometime later down the line in the project you may notice that your tag now looks like this…what happened?
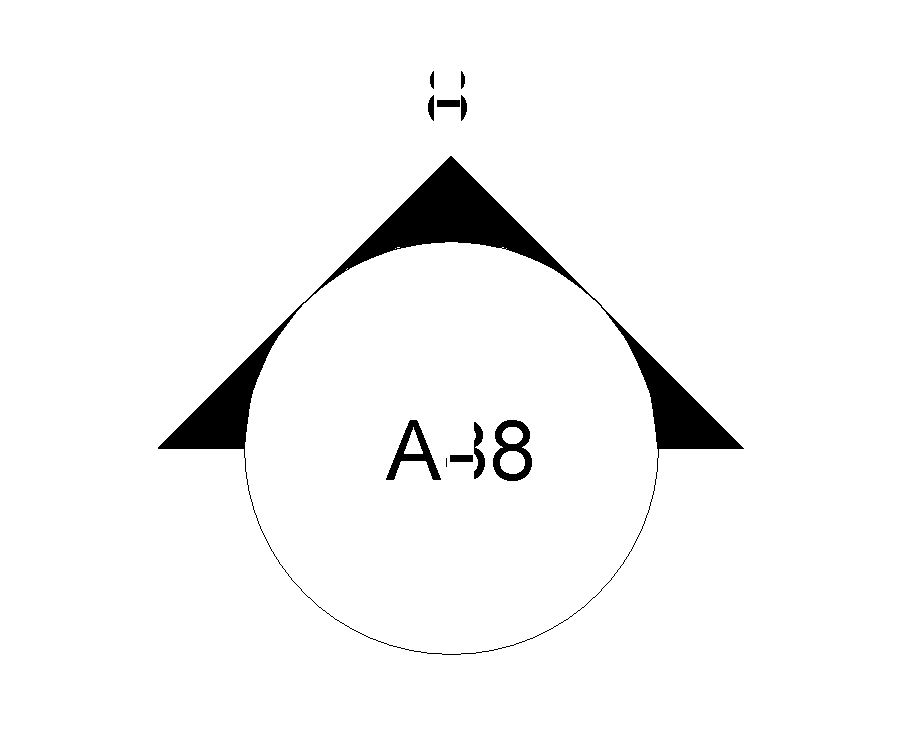
When in the course of human events it becomes necessary to duplicate an elevation, the tag is automatically duplicated as well. There are lots of reasons to duplicate an elevation view, whether you want to create an enlarged detail or just use the same information over again for any reason, but when you do this you need to be aware that a new tag has been laid directly on top of the old one. This tag, just like your original one, will be blank until you put the tag’s view on a sheet, so you are seeing your original tag plus some invading hyphens on top.
If the second view never gets put on a sheet you can avoid seeing the mess of two tags on a printed set by selecting “Hide unreferenced view tags” in the Print Setup dialog box that you see when printing. This is a good thing to always have checked.
If the second view does get put on a sheet, the information in the new tag will now cover the old information completely, sometimes making it seem like the old tag was deleted. Don’t be fooled! After you place the new elevation on a sheet, be sure to either move the new tag and reveal the tag below, or hide the new one completely if you don’t need to see it at all.