In Revit, there are diverse options for adjusting graphics in your different plan views. One such method is the use of filters. Revit filters can be used to look for specific elements in a model to apply overrides that will not be applied elsewhere.
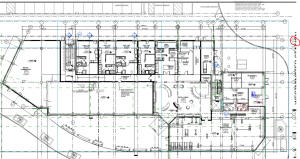
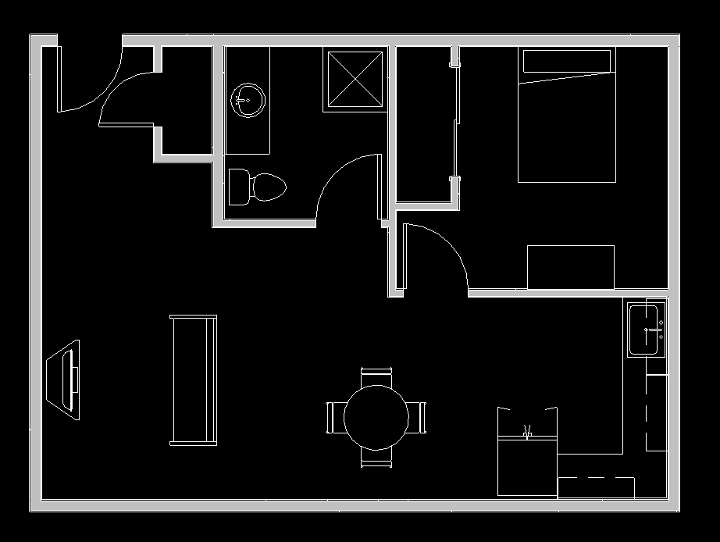
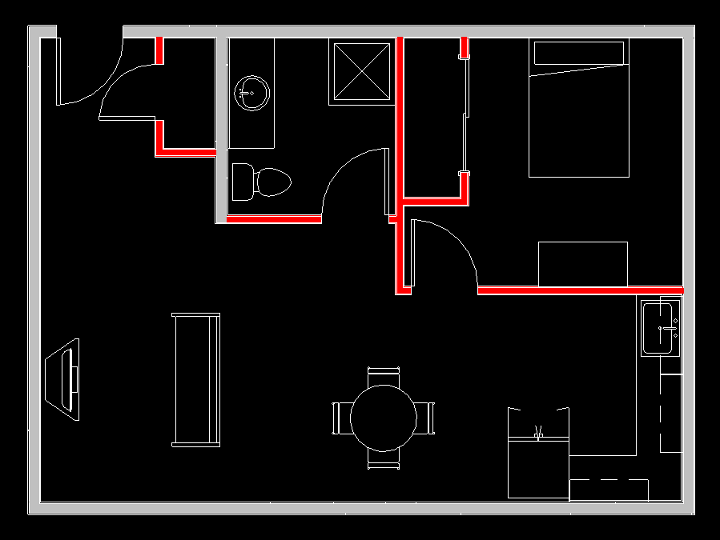
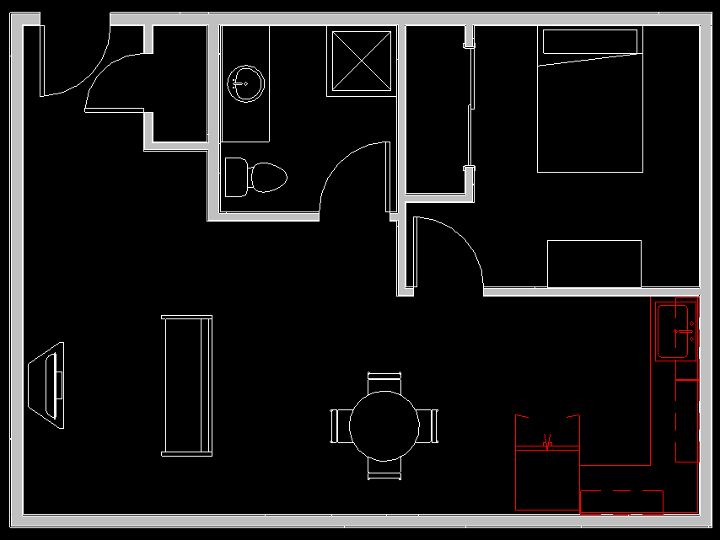
To highlight some options with filters we will use the following apartment unit layout:
With filters, there are two main options: Rule based and selection. Both can be found on the ribbon under view > filters.
Rule-based Filter
Rule based filters can be created utilizing parameters of a selected category to refine your search. We will create a filter looking for wood 2X4 walls to apply different appearances to them.
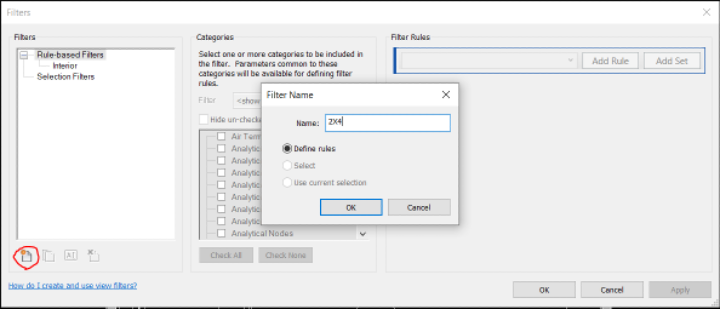
In the filter window, create a new filter called ”2X4” and select define rules.
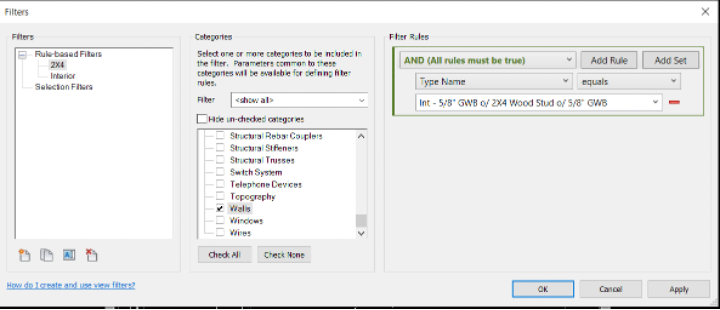
In this new filter, select the wall category and for this instance we will choose type name > equals > 2X4 wall type name and finish by hitting OK.
Now that we have our new filter, we must apply it to our layout view. In the visibility graphics for the view, go to the filter tab, select add and then select the new 2X4 filter. With the new filter added, it will show up as a line item like other categories with override options for project/surface and cut graphics.
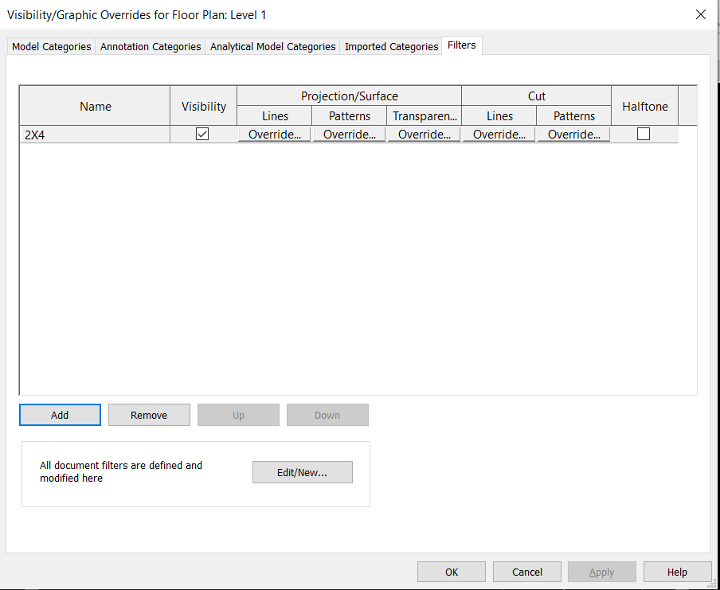
Change the cut color and pattern to a red solid fill from the default light gray. When you apply the changes and return to your view, the 2X4 walls will be indicated by their new red appearance.
Selection Filter
Selection filters can be used to override a custom grouping of elements. Begin by selecting all the kitchen elements and then selecting the save selection option up in the ribbon.
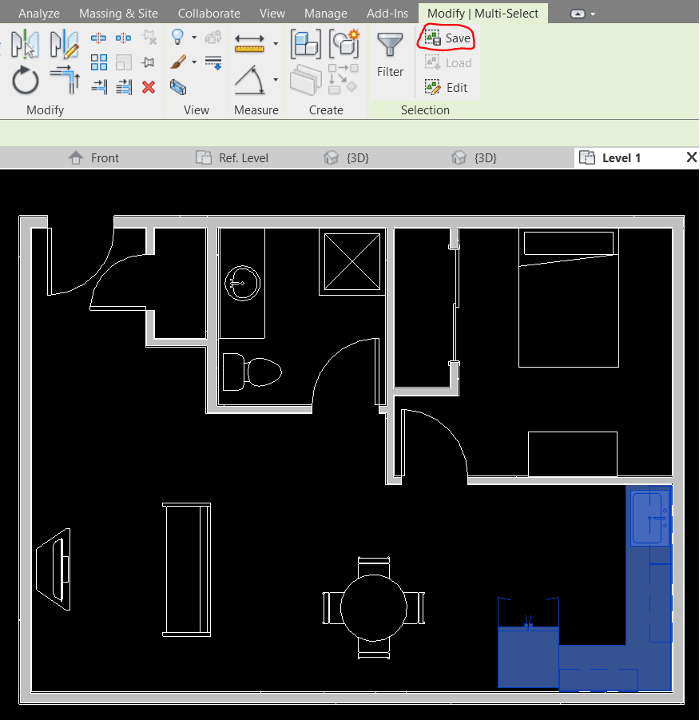
A dialog box will come up to name the selection so we will stick with kitchen. Now that the filter is created, apply it the same way we applied the 2X4 filter in the visibility graphics window.
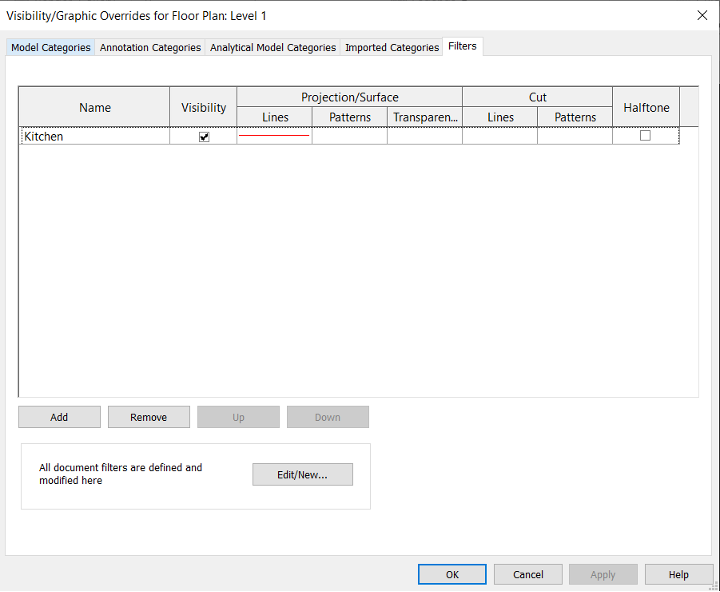
This time we will set the projection lines override to be red instead of white while leaving the line types as they were.
In conclusion, Revit filters can be a beneficial tool for visibility graphics and applied to both individual views or multiple views at one time via view templates.