Today’s Revit tip helps ease a common frustrating task…relocating lost levels which you know exist, but for whatever reason have left the visible area of your current view. Often in new elevations and / or sections, levels that you wish to include can be hidden way off in the fringes of the drawing area, and locating them can mean stretching your crop boundary to ridiculous extents. If you can’t find the levels outside your cropped area, and they are not hidden either individually or by category, how can you get them back? Or, if you are creating a new project from an old one (or even sometimes a template), how can you see all the levels currently in the project? The answer is using a scope box.
Here a some simple steps to getting your levels back:
1. Select the scope box tool in plan and draw a box to the full extents of your model.
2. Go to an elevation and drag the boxes top and bottom points so the box contains all model elements.
3. Draw a new level in elevation by either creating a new level or just copying an existing one up or down. It will appear with a generic name like “Level 7”.
4. Right click on the newly created level and choose to “select all instances”.
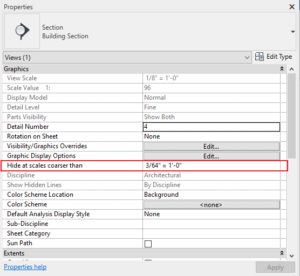
5. Go to Properties and set them to apply to the scope box you just created which should also have a generic name like “Scope box 1”.
Your levels should now all be visible. You can delete the scope box and the new level if you no longer need them.
Good luck!


6 thoughts on “Revit Tip – Finding Lost Levels”
Unfortunately this didn’t help 🙁 I already did the steps above but it asked to be ‘disassosiate’-d, and didn’t work. Any idea?
Thank you very much! This really helped me out.
Just used this, and worked perfectly, thanks.
Thank so very much! I thought I was experienced with Revit (not really the case) and when I encountered this problem I started to lose my mind! Thank you again!
Thank you so much. It is a very helful tip.
That’s a really useful tip. Has saved me a lot of time. Thanks.
Comments are closed.